
What to Expect During a Paver Installation Project
· By Airton da Silva Soares
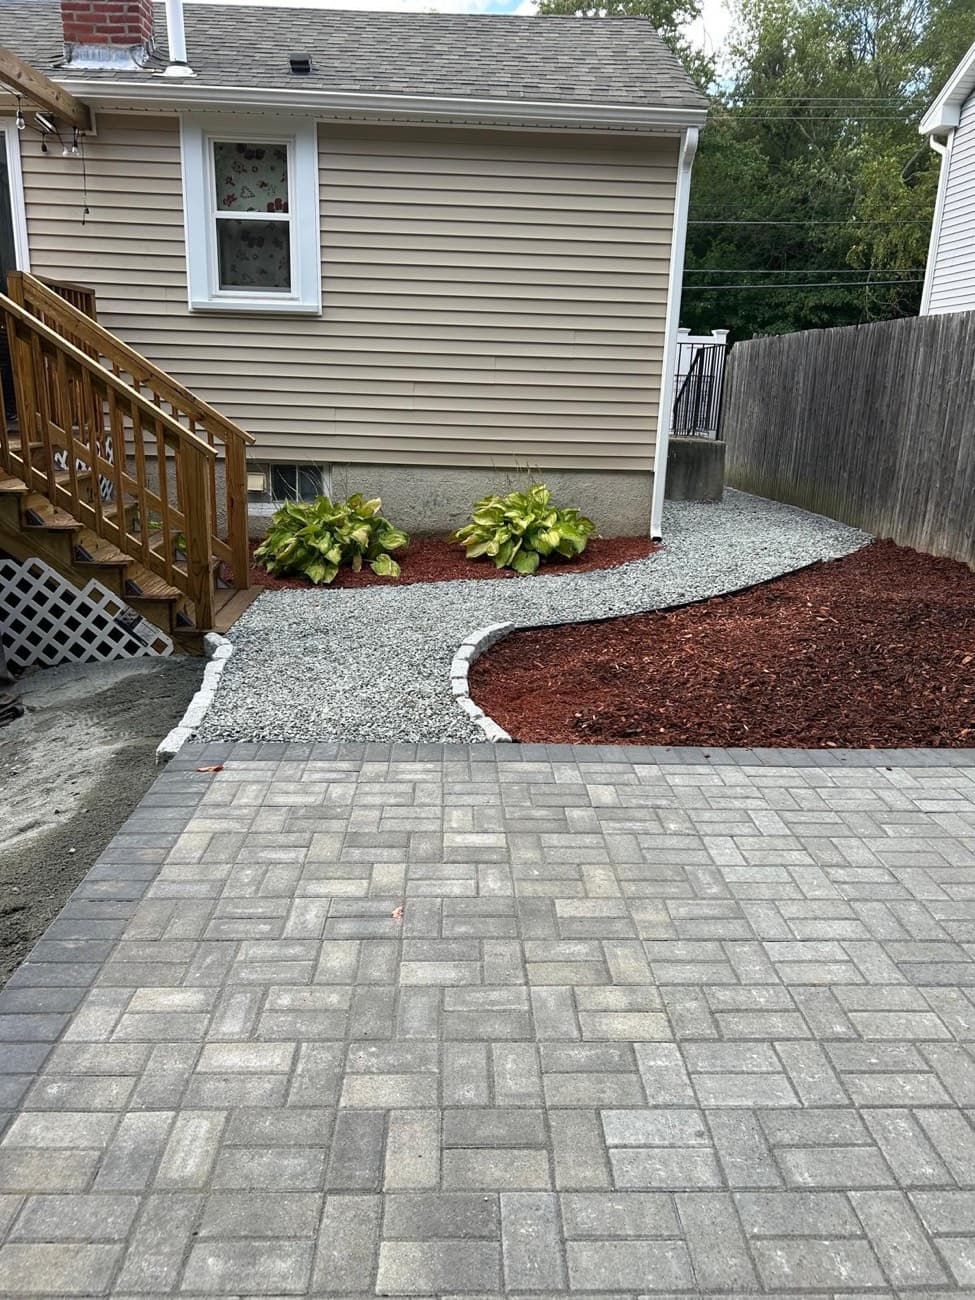
Booking a paver patio, walkway, or driveway is exciting, but if you have never done it, the process can feel like a black box. What actually happens once you say yes? How long does it take? How much mess is there, and what do you need to do to get ready? Knowing the steps ahead of time makes the whole project calmer and helps you spot a contractor who is doing it right.
A good paver installation follows a clear sequence, and most of the real work happens before a single paver is placed. The visible part, the pavers going down, is fast and satisfying. The part that determines whether it lasts, the excavation and base, takes the most time and skill.
This guide walks through what to expect from start to finish, using the way I run projects across Rhode Island and Massachusetts. I am Airton, and I am on site for the work, so this is the real timeline, not a sales pitch. Here is exactly how it goes.
Step 1: Estimate and design
It starts with a visit. A contractor should come out, look at the space, talk through what you want, and take measurements. This is where you discuss the paver style, the pattern, the layout, borders, and any features like steps or a seating area, and where good drainage and grading questions get raised.
From that visit you get a written estimate. Levi Construction offers free estimates, and a clear estimate should spell out the scope, the material, and the work involved, not just a single number. This is the moment to ask about excavation depth, base thickness, and how they will handle water, because those answers tell you a lot about quality.
Take your time here. A ten-minute conversation about the base and drainage now prevents years of problems later. A contractor who welcomes those questions is one worth hiring.
Step 2: Layout, excavation, and prep
Once you approve the project and any required permits are confirmed, the physical work begins with layout, marking the exact footprint and getting the grades right so water will drain away from your home and hardscape. Before digging, underground utilities should be marked so nothing is hit.
Then comes excavation. The crew removes the topsoil and any soft or water-holding soil to the depth the design calls for, which is deeper than most people expect. This is the messiest, most labor-intensive stage, and it is exactly where longevity is won or lost. A shallow dig here is the shortcut that fails in the first hard winter.
You will see a fair amount of soil moved and hauled off during this stage. It can look dramatic, but this excavation is the foundation of everything above it, so it is time well spent.
Step 3: Building the base
With the area excavated, the crew builds the base, and this is the heart of a lasting paver installation. Crushed gravel goes in and is compacted in layers with a plate compactor rather than dumped all at once, building up a solid, free-draining foundation to the thickness the project requires.
Driveways and areas that carry heavy loads get a thicker, more robust base than a garden walkway. Angular crushed stone is used because it locks together and drains, which is exactly what resists frost heave in our climate. Proper compaction at this stage is one of the biggest predictors of whether the finished surface stays level for years.
On top of the compacted base goes a thin, screeded layer of bedding sand, leveled precisely so the pavers sit true. This is careful, patient work, and it is worth watching, because a flat, well-compacted base is what you are really paying for.
Step 4: Laying the pavers
Now the satisfying part. Pavers are set onto the bedding sand in the chosen pattern, kept tight and aligned, with edges and borders cut to fit around curves, corners, and any features. This is where the design comes to life and the project starts to look finished.
Cuts along the edges are made with a saw so the border is clean and consistent. Then edge restraints are installed around the perimeter to lock everything in place so the pavers cannot spread or drift outward over time, a small step that makes a big difference to how the surface holds up.
A whole patio or walkway can go down relatively quickly at this stage compared with the prep, which is why it can feel like the project suddenly comes together after the slower groundwork.
Step 5: Joint sand, compaction, and cleanup
With the pavers set, joint sand is swept into the gaps between them. Most quality installs use polymeric sand, which hardens when activated with water, resisting weeds and washout far better than plain sand. The crew sweeps it in, clears every grain off the paver faces, then activates it per the product instructions.
The pavers are also compacted, often with a protective mat on the plate compactor, to settle them firmly into the bedding and lock the whole surface together. Then comes cleanup: leftover material is hauled away, the surrounding area is tidied, and the site is left clean.
At this point the hardscape is done, though some products, like sealer or the final cure of polymeric sand, benefit from a little dry time. A good crew will tell you exactly when you can walk on it, put furniture out, or drive on a new driveway.
Timeline and how to prepare
Timelines vary with the size and complexity of the job, the site conditions, and the weather. A modest walkway may be a short project, while a large patio or a driveway with heavy excavation takes longer. Your contractor should give you a realistic window, and weather delays are normal in New England, since base work and polymeric sand need dry conditions.
To prepare, clear the work area of furniture, planters, and anything fragile near the site, and make sure the crew can access the space and any needed staging area. If there are sprinkler lines, low-voltage lighting, or a pet fence in the yard, point them out before digging begins.
Finally, keep the lines of communication open. Ask questions as the work progresses, because a contractor who is proud of the base and drainage will be happy to show you what is going in below the surface. That transparency is a sign the job is being done to last.
Frequently asked questions
- How long does a paver installation take?
- It depends on size, complexity, site conditions, and weather. A small walkway can be a short project, while a large patio or a driveway with heavy excavation takes longer. Most of the time goes into excavation and base work, not laying the pavers. A contractor should give you a realistic window up front.
- What is the most important part of a paver install?
- The excavation and compacted gravel base. It is the part you never see once the job is done, but it is what keeps the surface level through New England freeze-thaw winters. Ask any contractor about excavation depth, base thickness, and compaction before you hire.
- How should I prepare my yard for the crew?
- Clear furniture, planters, and fragile items near the work area, and make sure the crew can access the space and a staging area. Point out any sprinkler lines, low-voltage lighting, or pet fences before digging so nothing underground gets damaged.
- When can I use my new pavers?
- You can usually walk on a finished paver surface soon after installation, but products like polymeric sand and sealer benefit from dry time to cure, and a new driveway needs time before heavy vehicle traffic. Your contractor will tell you the specific timing for your project.
Related services
Ready for an exact price?
Get a free, no-pressure in-home estimate. Real numbers for your home, not a phone guess.