
Paver Patio Maintenance: A New England Homeowner's Guide
· By Airton da Silva Soares
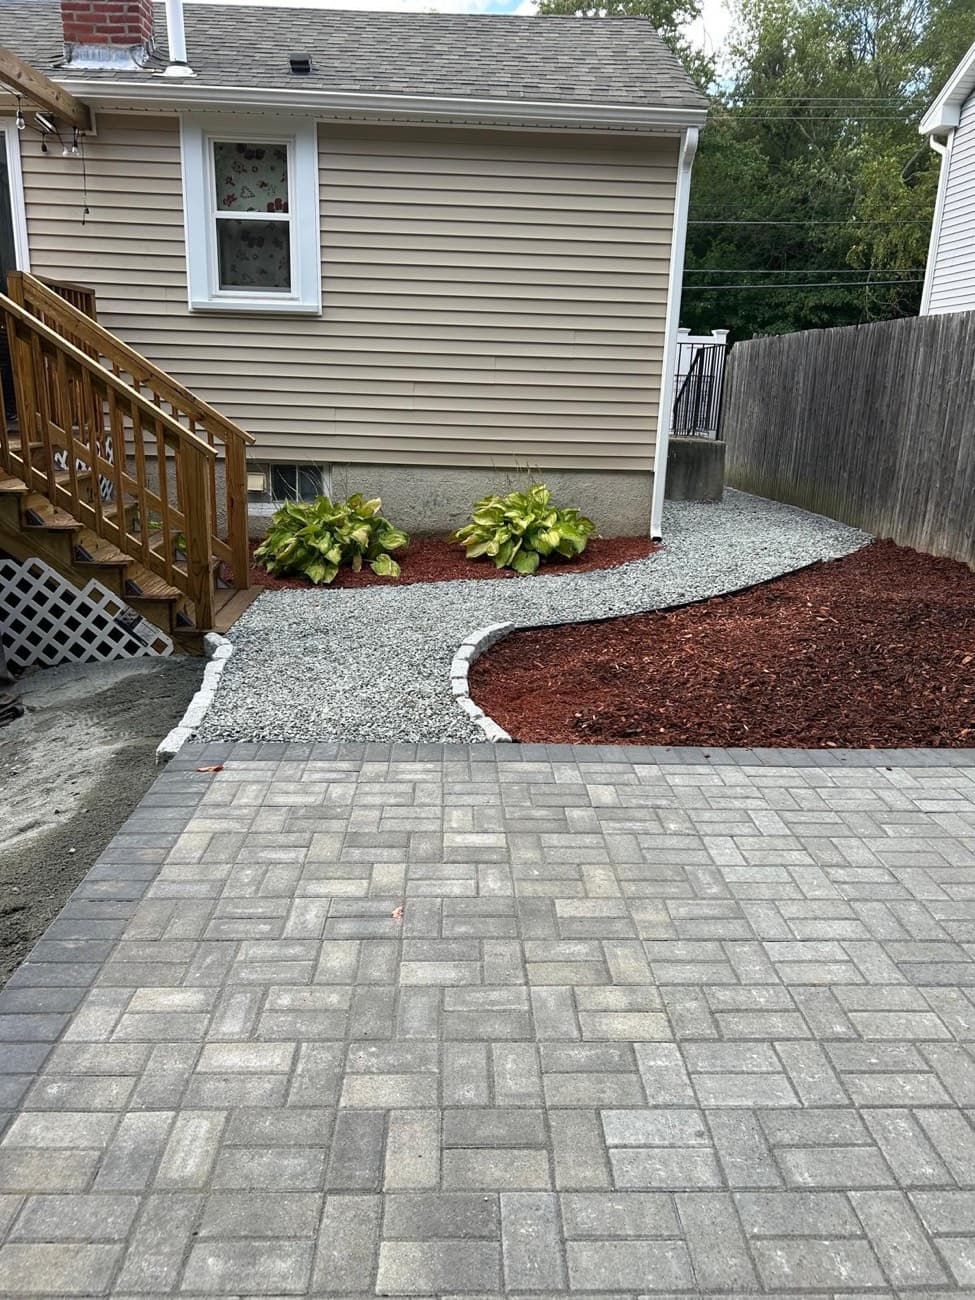
A paver patio is one of the most durable outdoor investments a New England homeowner can make, but durable does not mean maintenance free. The pavers themselves can last for decades. What wears out first is the joint sand between them, the surface seal, and the base underneath, and all three take a beating from our wet springs, humid summers, and hard winters.
The good news is that paver patio maintenance is mostly simple, low cost, and seasonal. If you clean the surface, top off the joints, and reseal on a sensible schedule, you avoid the two problems that ruin patios around Providence and Cranston: weeds pushing up through the joints and pavers shifting out of level after a freeze-thaw winter.
This guide walks through what to do and when, using the same routine I recommend to my own customers across Rhode Island and Massachusetts. I am Airton, and I am on every job, so this is the practical version, not the brochure version.
Why paver patios need maintenance in New England
New England puts hardscape through a specific kind of stress: freeze-thaw. Water soaks into joints and the base, freezes, expands, and then thaws, over and over from November through March. Each cycle nudges material around. Over a few winters, unmaintained joints wash out and individual pavers can rock, tip, or lift.
Our climate also feeds moss, algae, and weeds. The same shade and moisture that keep lawns green in Woonsocket and Pawtucket will grow a green film on north-facing patio corners and sprout weeds in any joint that has lost its sand. Maintenance is really about keeping water and organic growth from getting a foothold.
None of this is a reason to avoid pavers. Pavers actually handle freeze-thaw better than a poured slab because the joints flex instead of cracking. You just have to keep the system healthy, and that means the joints and base, not only the pretty top surface.
Routine cleaning: what works and what to avoid
For everyday cleaning, a stiff broom and a garden hose handle most of the job. Sweep off leaves and debris regularly, because wet leaves left in place all fall will stain lighter pavers and feed algae. A couple of times a year, wash the surface with a bucket of warm water and a mild dish soap, then rinse.
For moss, algae, or that greenish film, an oxygen bleach or a dedicated paver cleaner works well and is gentler than chlorine bleach, which can lighten the color of your pavers and kill nearby grass and plantings. Apply, let it dwell, scrub with a deck brush, and rinse.
Be careful with pressure washers. They are fine at low pressure with a wide fan tip held well back from the surface, but a narrow tip up close will blast the joint sand right out and etch the face of the pavers. If you do pressure wash, plan to re-sand the joints afterward, because you will remove sand no matter how careful you are.
Joint sand: the part most homeowners forget
The sand between your pavers is not cosmetic. It locks the pavers together so they share load and resist shifting. When joints are full and firm, the patio behaves like one interlocked surface. When they wash out, each paver is on its own, and that is when you get rocking and unevenness.
Most modern patios use polymeric sand, which contains a binder that hardens when it gets wet. It resists weeds and washout far better than plain sand and is the standard I use on new installs. Over time it still needs topping off, usually every few years, especially along edges and low spots where water runs.
To re-sand, wait for a dry stretch, sweep the polymeric sand into the joints until they are full, use a leaf blower on low or a soft brush to clear every grain off the paver faces, then mist with water per the product instructions to set it. The most common mistake is leaving sand haze on the surface before wetting, which locks a cloudy film onto your pavers.
Sealing: is it worth it, and how often
Sealing is optional, but I usually recommend it in New England. A quality paver sealer does three useful things: it resists stains from grease, leaves, and rust; it helps lock the joint sand in place; and it slows water absorption, which is exactly what you want going into a freeze-thaw winter. It also deepens the color if you choose a wet-look product.
Plan to reseal roughly every three to five years, depending on the product and how much sun and traffic the patio gets. Seal on a dry patio during a stretch of mild, dry weather, ideally in late spring or early fall, so temperatures are moderate and there is no rain in the forecast for a day or two.
Do not seal a brand new patio right away. Fresh pavers and new polymeric sand need time to cure and let efflorescence, the white mineral haze that can surface early on, work its way out. Waiting several months to a year before the first seal usually gives the best result.
Fixing settling, weeds, and stains
If a paver or a section has settled and sits low or rocks underfoot, the fix is straightforward but has to reach the base. You lift the affected pavers, add and re-compact base material or bedding sand to bring them back to grade, reset them, and re-sand the joints. Chasing a low spot by dumping sand on top only hides the problem for a season.
For weeds, the root cause is almost always empty joints. Pull or spot-treat what is growing, then re-sand with polymeric sand so seeds have nowhere to germinate. A properly filled joint is your best long-term weed control, far better than repeated spraying.
For stains, act fast: oil and grease respond to a degreaser and a poultice; organic stains from leaves respond to oxygen bleach; and efflorescence usually needs a dedicated efflorescence remover rather than soap. Test any product on a hidden paver first so you know how it affects the color.
A simple year-round maintenance schedule
Spring: once the ground thaws, inspect the whole patio. Look for pavers that heaved or settled over winter, check the joints, and clean off any moss or winter grime. This is the ideal time to top off joint sand and plan any sealing.
Summer: keep it swept, rinse as needed, and treat stains quickly while the weather is warm and the surface dries fast. If you are going to seal, a dry summer or early fall window is perfect.
Fall and winter: clear leaves before they mat down and stain, and make sure water drains away from the patio rather than pooling on it. In winter, avoid rock salt and harsh de-icers, which can pit and discolor pavers; sand for traction or use a paver-safe de-icer, and use a plastic shovel so you do not chip edges.
Frequently asked questions
- How often should I reseal my paver patio?
- Most paver patios in Rhode Island and Massachusetts do well with resealing every three to five years, depending on the product, sun exposure, and traffic. If water stops beading on the surface and the color looks flat, it is time to reseal.
- Can I pressure wash my pavers?
- Yes, carefully. Use a wide fan tip at low pressure and keep the wand well back from the surface. A narrow tip up close strips out the joint sand and etches the pavers. Plan to re-sand the joints after any pressure washing.
- Why are weeds growing between my pavers?
- Weeds almost always mean the joints have lost their sand, giving seeds a place to root. The lasting fix is to refill the joints with polymeric sand rather than spraying repeatedly. Full, firm joints are the best weed control.
- Will rock salt damage my patio in winter?
- It can. Rock salt and harsh de-icers can pit and discolor pavers over time. Use sand for traction or a paver-safe de-icer, and shovel with a plastic blade to avoid chipping the edges.
Related services
Ready for an exact price?
Get a free, no-pressure in-home estimate. Real numbers for your home, not a phone guess.